How to Customize Aprons – A Quick Guide for Buyers
Custom aprons are a smart investment for restaurants, cafes, hotels, events, and corporate gifts. Here’s what you need to know to get started.
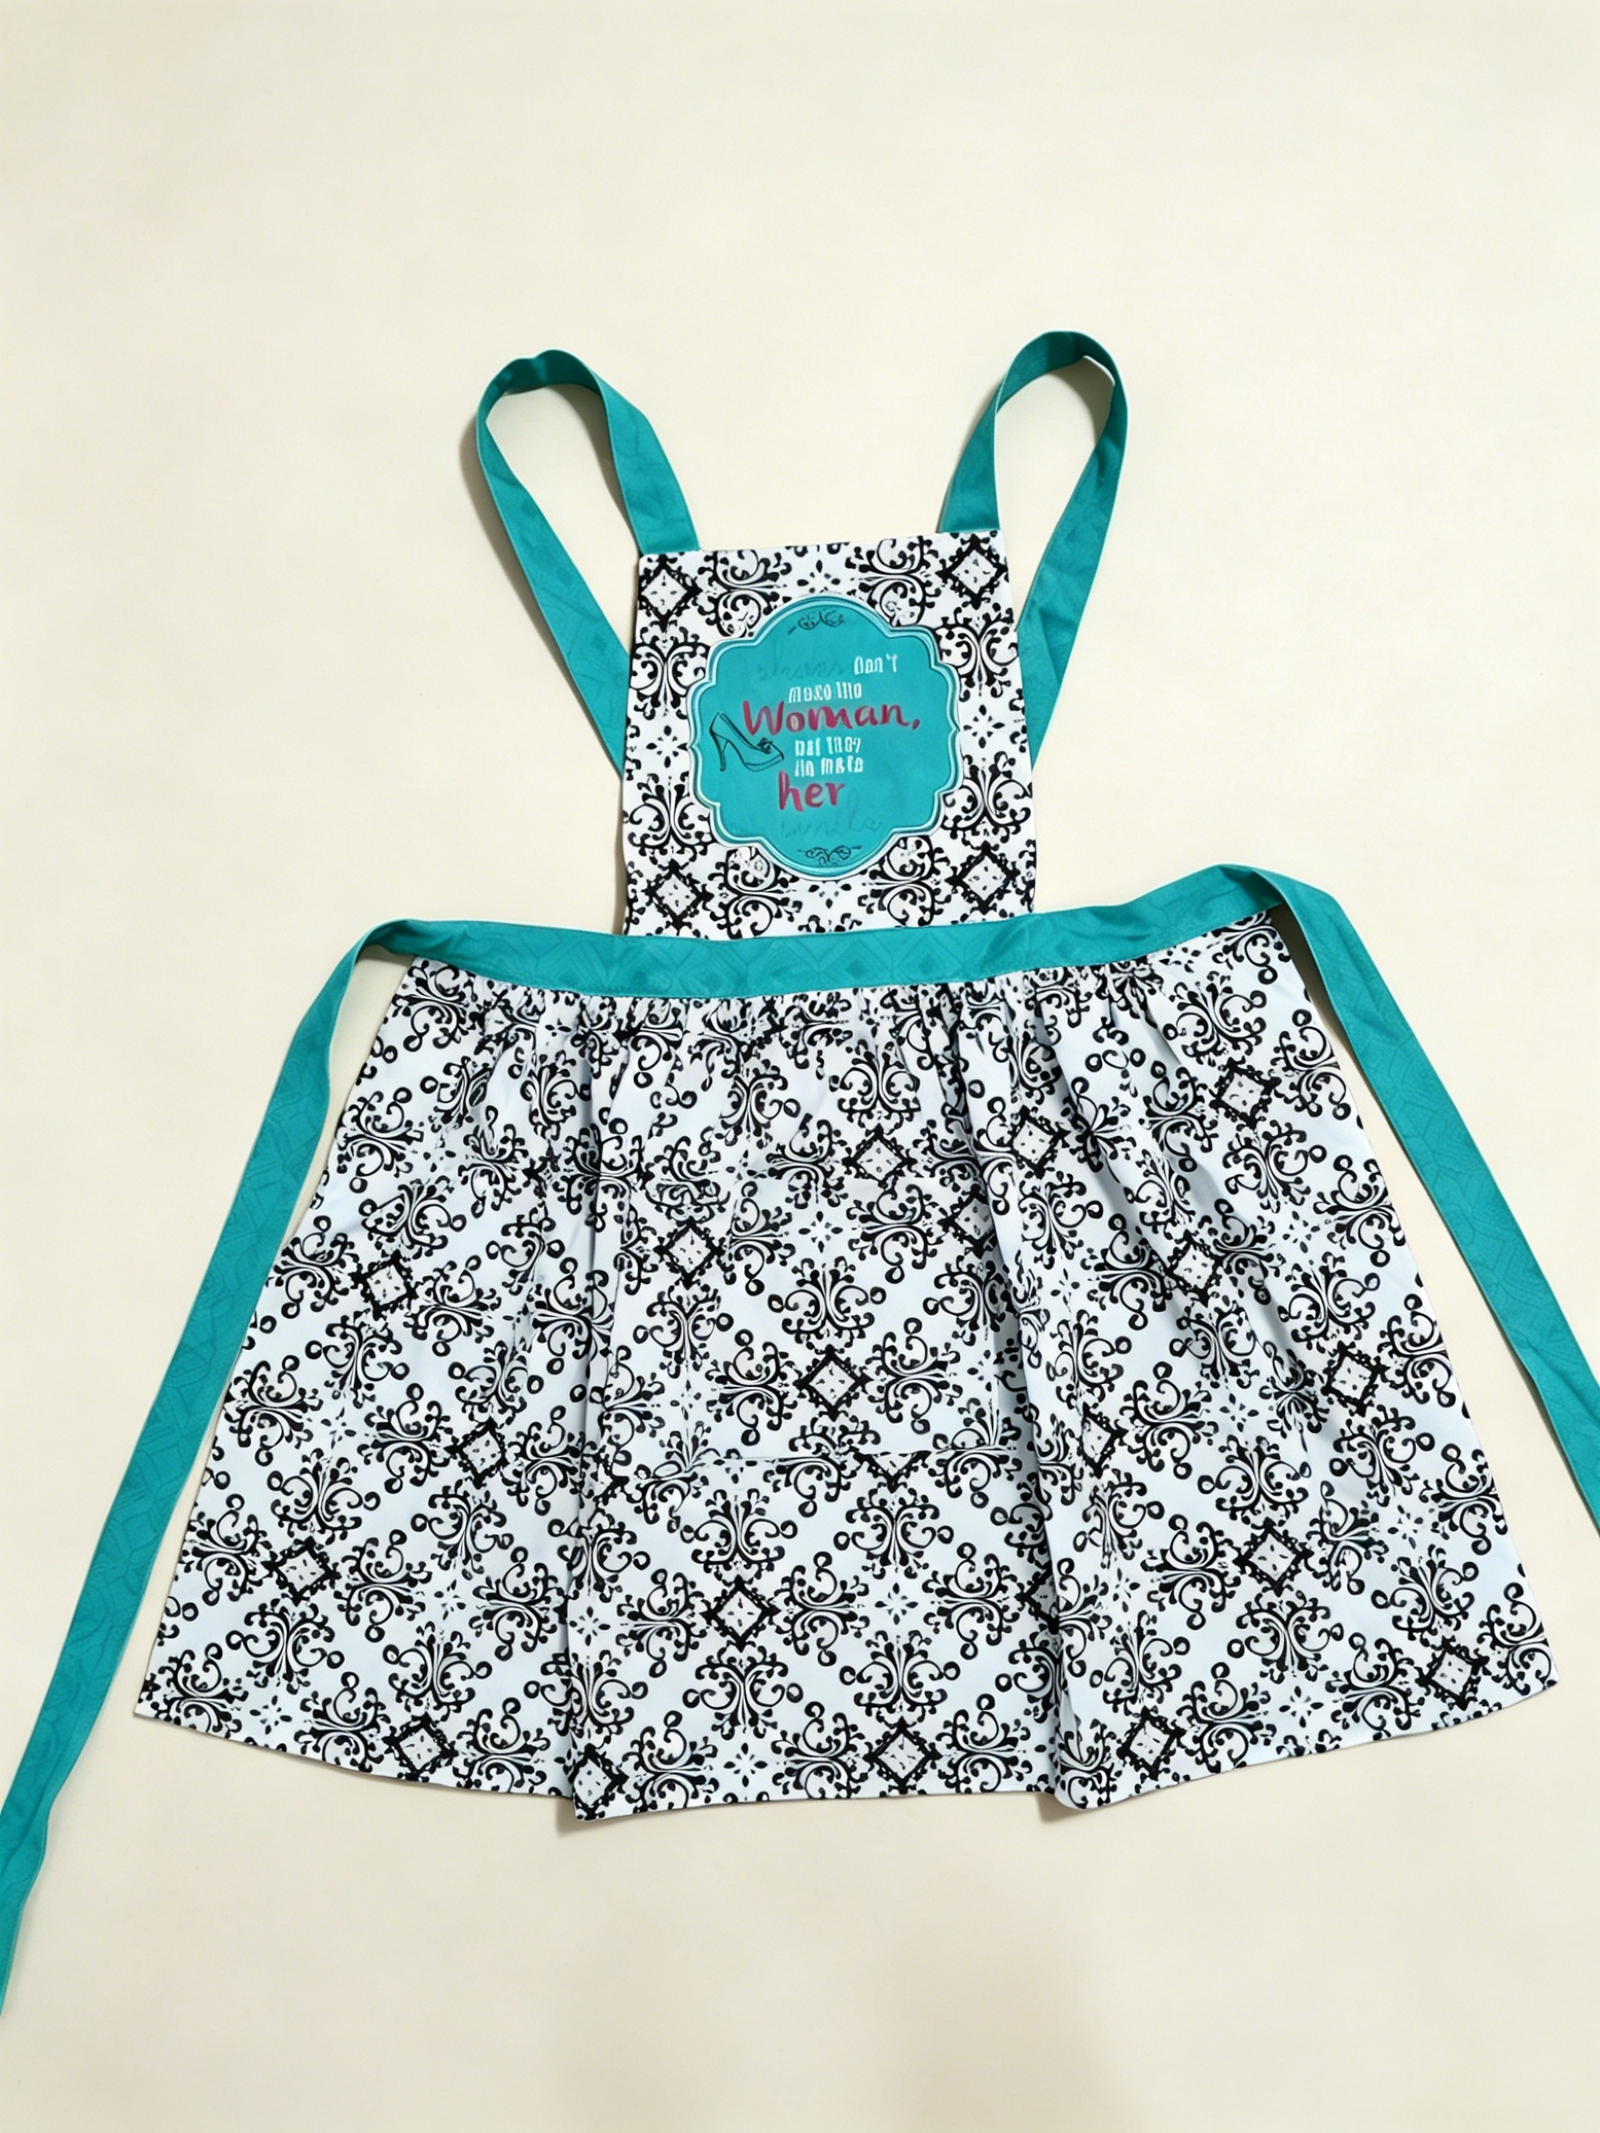
1. Choose Your Style
-
Bib apron – classic, full coverage, ideal for kitchens.
-
Waist/server apron – lighter, for front-of-house.
-
Cross-back – more comfortable for all-day wear.
2. Pick the Right Fabric
-
Cotton canvas – premium feel, softens with wash.
-
Poly-cotton twill – durable, wrinkle-resistant, easy care.
-
Heavy duck/denim – rugged, for BBQ or workshops.
3. Select Your Logo Method
|
Method |
Best For |
|---|---|
|
Embroidery |
Long-lasting, professional, great for chest logos |
|
Screen printing |
Large areas, solid colors, cost-effective for bulk |
|
Heat transfer / DTG |
Full-color complex designs, small runs |
|
Woven label / patch |
Luxury feel, works as accent |
4. Customization Details Matter
Pocket layout, towel loop, adjustable neck, contrast stitching – these small touches make the apron feel truly yours.
5. Typical Order Process
-
Send brief (style, quantity, logo file).
-
Receive quote + mockup.
-
Approve sample (recommended).
-
Production (10–20 days).
-
QC & shipping.
MOQ starts from 100 pieces. Mix colors in one order. Reorder is faster once your logo is on file.
Ready to start? [Contact us for a quote] → link to your inquiry form.
